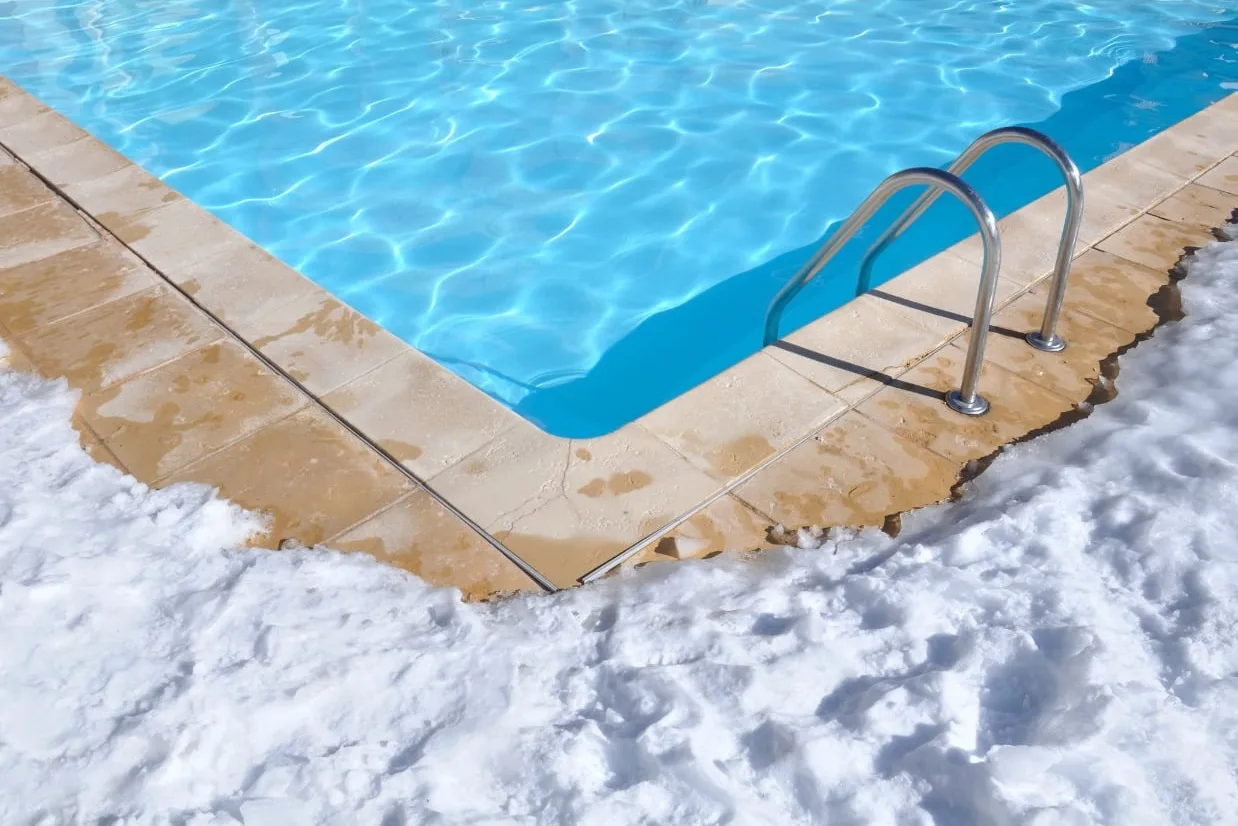
How to Properly Close Your Pool for Winter
As the leaves begin to fall and temperatures drop, pool owners across the country face an important seasonal task: winterizing their pools. Whether you’re a first-time pool owner or a seasoned veteran, understanding the proper pool closing procedures is essential to protecting your investment and ensuring a smooth opening when warm weather returns. This comprehensive guide will walk you through everything you need to know about inground pool winterization.
Why Winterize Your Pool?
Before diving into the how-to, it’s important to understand why proper pool closing matters. When you winterize your pool correctly, you’re protecting it from freeze damage, preventing algae growth, and safeguarding expensive equipment. Skipping this crucial step can result in cracked pipes, damaged filters, stained surfaces, and costly repairs that far exceed the time and money invested in proper winterization.
In regions where temperatures consistently drop below freezing, failing to winterize can lead to catastrophic damage. Water expands when it freezes, and that expansion can crack pool walls, burst pipes, and destroy pumps and filters. Even in milder climates, closing your pool properly prevents debris accumulation and makes spring opening significantly easier.
When Should You Close Your Pool?
Timing is everything when it comes to inground pool winterization. The ideal time to winterize your pool is when water temperatures consistently stay below 65°F. At this temperature, algae growth slows dramatically, making it easier to keep your water chemistry balanced throughout the winter months.
Closing too early, while temperatures are still warm, means you’ll be fighting algae all winter long. Wait too long, and you risk freezing damage to your equipment and plumbing. Most pool owners in northern climates begin their pool closing process in late September through October, while those in southern regions may wait until November or even December.
Essential Supplies for Pool Winterization
Before you begin the winterization process, gather these essential supplies:
- Pool winterizing chemicals (chlorine shock, algaecide, winterizing chemical kit)
- Pool cover (safety cover or winter cover)
- Winterizing plugs and expansion plugs
- Pool antifreeze (non-toxic, specifically designed for pools)
- Skimmer guard or ice compensator
- Water test kit
- Pool brush and vacuum
- Air compressor or shop vacuum
Having everything on hand before you start ensures a smooth, efficient process without multiple trips to the pool supply store.
Step-by-Step Pool Closing Process
1. Clean the Pool Thoroughly
Begin your inground pool winterization by giving your pool a deep clean. Remove all debris, leaves, and dirt from the water. Brush the walls and floor thoroughly, then vacuum. Pay special attention to corners, steps, and other areas where debris tends to accumulate. A clean pool is much easier to balance chemically and will be in better condition when you reopen it in spring.
2. Balance the Water Chemistry
Proper water chemistry is crucial for successful pool winterization. Test and adjust your water to achieve these target ranges:
- pH: 7.2-7.8
- Alkalinity: 80-120 ppm
- Calcium Hardness: 180-220 ppm
Balanced water protects your pool surfaces from etching, staining, and scale formation during the long winter months. Add the necessary chemicals and allow them to circulate for at least 24 hours before proceeding.
3. Shock the Pool
Add a heavy dose of chlorine shock to the water, using two to three times the normal amount. This superchlorination kills any bacteria, algae, or contaminants in the water. Run your filter system for 12-24 hours to ensure the shock is fully distributed throughout the pool.
4. Add Winterizing Chemicals
After shocking, add your winterizing chemicals according to package directions. This typically includes a winter algaecide and a stain and scale preventer. These chemicals work throughout the winter to keep your water clear and your surfaces protected. Some pool owners also add an enzyme treatment to break down organic contaminants.
5. Lower the Water Level
For inground pool winterization, you’ll need to lower the water level. The exact amount depends on your pool type and cover:
- For mesh safety covers: Lower water 1-2 inches below the skimmer
- For solid covers: Lower water 12-18 inches below the tile line or skimmer
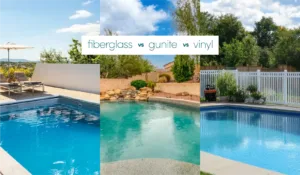
- For fiberglass and vinyl pools: Never drain completely; maintain proper water level to prevent structural damage
6. Drain and Winterize Equipment
This is perhaps the most critical step in pool closing. Any water left in equipment can freeze and cause expensive damage.
Filter System: Drain your filter completely according to manufacturer instructions. For sand filters, set the valve to winterize position. For DE or cartridge filters, remove and clean the elements, then store them indoors.
Pump: Drain all water from the pump, remove drain plugs, and store them in the pump basket so you don’t lose them. Some experts recommend storing the pump indoors if possible.
Heater: Drain the heater completely and follow manufacturer winterization instructions.
Chlorinator: Remove any chemical tablets and clean thoroughly.
7. Blow Out the Lines
Using an air compressor or shop vacuum, blow water out of all plumbing lines. This is essential for preventing freeze damage. Start with the skimmer lines, then move to return lines. Once you see air bubbles, quickly insert winterizing plugs to seal the lines. Add pool antifreeze to lines for extra protection in extremely cold climates.
8. Protect the Skimmer
Install a skimmer guard, gizzmo, or ice compensator in the skimmer. These devices absorb the pressure from ice expansion, preventing skimmer damage. Alternatively, some pool owners add antifreeze directly into the skimmer.
9. Install the Winter Cover
The final step in your inground pool winterization is installing a quality winter cover. Whether you choose a mesh safety cover or a solid cover, ensure it’s properly secured. Safety covers should be anchored at all points, while solid covers need water bags or cover clips placed around the perimeter. A properly installed cover keeps debris out, prevents accidents, and reduces spring cleanup.
Maintaining Your Pool During Winter
Even with proper pool closing, occasional winter maintenance is necessary. After heavy storms, remove excess water or snow from solid covers to prevent sagging and damage. Check that your cover remains secure and make any needed adjustments. Periodically inspect for obvious damage or problems.
The Investment in Proper Winterization
While winterizing your pool requires time and effort, it’s an investment that pays dividends. Proper pool closing prevents thousands of dollars in potential damage, extends the life of your equipment, and makes spring opening far easier. Many pool owners choose to hire professionals for this task, especially for the first year, to ensure everything is done correctly.
Whether you tackle the job yourself or hire experts, understanding the inground pool winterization process empowers you to protect your backyard investment through the cold months ahead.
Let Custom Pool Pros help you!